
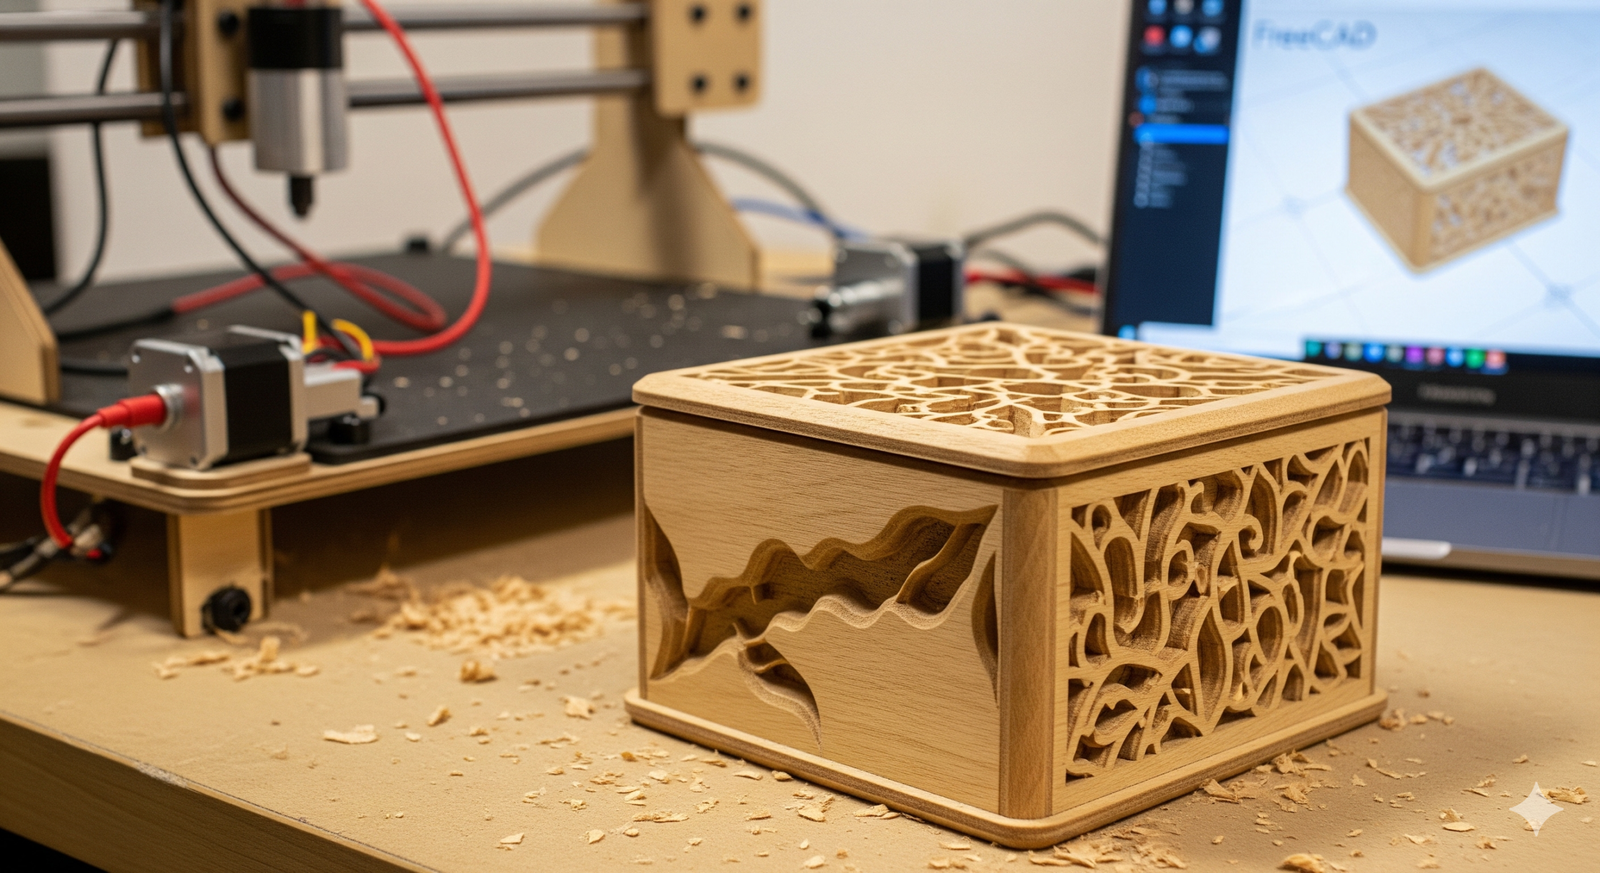
Welcome to your first CNC adventure! If you’ve got a DIY spirit, access to a homemade CNC machine, and a curious mind, you’re in the right place. Today, we’re stepping into the world of digital manufacturing by creating a simple yet satisfying project: a custom wooden coaster. This isn’t just about making something useful—this is about unleashing your potential as a maker, and learning a full digital-to-physical workflow using FreeCAD and your own CNC setup.
Industrial tools like SolidWorks might dominate the pro space, but they’ve got heavy licensing costs and steep learning curves. What’s a startup, hobbyist, or creative soul to do? Enter FreeCAD—a powerful, open-source parametric modeller that, when paired with a homemade CNC machine, is a game-changer for accessible prototyping and production. Let’s get making!
Project Overview: Custom Wooden Coaster with Personalized Engraving
This hands-on tutorial will take you through the full journey—from design in FreeCAD, to G-code generation, and finally, physical production on your homemade CNC. It’s a fast, rewarding project perfect for beginners who want tangible results.
Step 1: Sketching the Coaster in FreeCAD
We’ll begin by using FreeCAD to sketch and model our coaster. The coaster will be round with a diameter of 100mm and include a personalized engraving in the center.
- Open FreeCAD and switch to the Part Design Workbench.
- Create a new Body, then create a new Sketch on the XY plane.
- Use the Circle tool to create a 100mm diameter circle (use constraints for precision).
- Close the sketch and use the Pad operation to extrude the body to 5mm thick.
💡 Compare this with SolidWorks: In SolidWorks, this process is similar but tightly integrated and polished. However, FreeCAD’s workflows are getting better every release—and the open-source nature means you’re in full control.
Step 2: Adding the Engraving with Text
- Switch to the Draft Workbench. Use the ShapeString tool to add your custom text (e.g., “Joe’s Workshop”).
- Position the text using the Placement object in the property bar.
- Switch to the Part Workbench and extrude the text by 1mm.
- Use the Cut operation to subtract the text from the coaster body.
Step 3: Preparing for CNC – Path Workbench Setup
Now that the model’s ready, we shift gears from design to manufacturing. Welcome to the Path Workbench, where we create the toolpaths.
- Select the coaster body, switch to Path Workbench.
- Create a new Job: specify your tool (e.g., 3mm flat end mill), the stock size, and zero positions.
- Add two operations:
- Profile Operation: Cut the outside shape.
- Engraving Operation: Trace internal text with a V-bit or smaller end mill.
- Simulate the path to verify movement, depth, and clearances.
💡 Industrial Insight: Software like Fusion 360 or MasterCAM has richer post-processors and built-in simulations. But for personal projects, FreeCAD’s builtin simulator and G-code generation give you total independence—no subscriptions, no data locks.
Step 4: Export G-code and Run on Homemade CNC
- After verifying the simulation, export the Job as G-code using the PostProcessor (*.gcode format).
- Transfer the G-code to the control software of your homemade CNC (e.g., GRBL, bCNC, or CNCjs).
- Secure your material properly (MDF or hardwood), set zero origins manually by jogging the machine head, and hit Start.
- Watch closely as your design becomes real. It’s CNC magic!
Step 5: Final Touches and Key Learnings
Once your machine has finished the job, remove the coaster, sand lightly, and optionally apply finish oil or clear varnish. Boom! You’ve made your first CNC-based product from scratch—concept to cut!
- Learning Outcome: Understand design constraints, toolpath decisions, and material behavior.
- Technical Experience: Integrated workflow from parametric CAD to machine-ready G-code.
- Inspirational Note: If you did this, you can do boxes, signs, jigs, gifts—you’re just scratching the surface!
🎉 Celebrate your win: You now know how to go from digital sketch to real-world machining—all with open-source tools and your homemade CNC!
Conclusion: What Will You Build Next?
You just took a major step forward as a maker. With FreeCAD and your humble CNC controller, you’ve proven that professional-grade capability isn’t locked behind paywalls or premium software. Whether you’re a startup testing hardware ideas, a woodworker seeking precision, or a weekend builder exploring digital fabrication—the tools are all in your hands now.
🔥 Got questions or want to share your results? Drop a comment and inspire the next maker!
[META] Design and machine your first CNC project with FreeCAD—from sketch to G-code on your homemade CNC, complete with custom engraving.
“`